Bottling night is probably the most work out of the entire meadmaking process. However, I find it essential for longterm storage of mead, as well as closely-related to the overall vibe. Pulling out a well-labeled bottle and a corkscrew is definitely part of the fully-immersed mead experience.
I’ve noticed that I’ve tended to post a review mostly of the finished bottles, and not so much of the process. Here, I’ll try to document a bit of it.
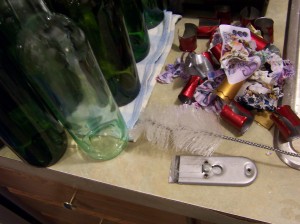
The most labor by far is cleaning and de-labeling the bottles, especially if you are using recycled wine bottles as I often do. For this you need lots of hot, soapy water, a bottle brush, and a razor blade to scrape old labels off. Here’s the result of my work, with a couple dozen clean bottles, a pile of scraped labels, and the bottle brush and razor blade visible:
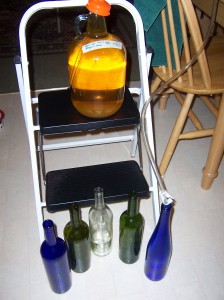
Once the bottles are clean, you want to siphon the mead from the jug (in my case, 1 gallon recycled wine jugs). You can see that I use a small stepladder to elevate the jug, so that the bottles are lower:
I also use the same cap to start the siphon as I do for the carboys, though because the lip of the jugs is too small, I have to hold it airtight around there while I blow into it to begin the siphoning process.
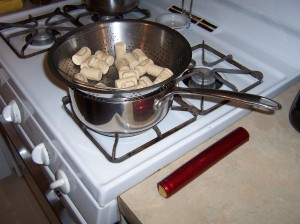
Once the bottles are full, you want to cork them. I always steam my corks, both to sanitize them and to soften them:
You can also see a dozen or two shrink caps ready to use also. Once the corks are soft, simply use a corker to apply them to the bottles. Then, put the shrink cap over the top of the bottle with the cork, use a spoon to temporarily hold it in place, and submerge the cap into the boiling water (under the steaming corks above). The heat from the boiling water will cause the shrink caps to shrink tight around the bottle within a few seconds.
Once done, clean the outside of the bottle, dry it, and apply your label!


